October 31, 2019

It's Time for the November Release Countdown!


Hello, and welcome to the first day of the My Favorite Things November Release Countdown. For the next five days, we'll be sharing cards and projects featuring all of the new products coming out on November 5 at 10am ,EST.

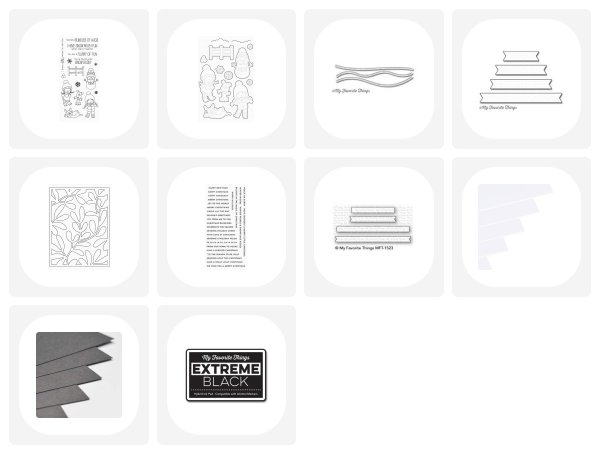
For my first card today, I used the Snow Buddies stamp set to create a fun and playful winter scene with a cute snowman and an adorable puppy, which I, of course, coloured to look like my own. :)


I stamped out the images onto Neenah Solar White card stock and coloured them in with Copic markers. I then created the background with Distress Inks and white paint to create a very snowy scene.

I finished the card with a stamped sentiment that I heat embossed onto an Essential Sentiment Strip and adhered it to the snow hills that I die cut from the Stitched Snow Drifts Die-namics.

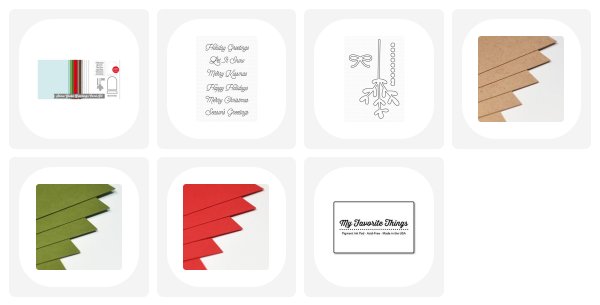
For my second card, I used the new Mistletoe Cover-Up Die-namics to create another snow-filled card.

I die cut the Mistletoe Cover-Up and added colour to it with Lucky Clover Distress ink. I them layered it onto a Steel Grey card base, added my stamped sentiment strips and then covered it with snow using white paint mixed with water. I did this technique on a few cards this month... I love the look of snow on winter card designs.


Thanks so much for joining me for Day 5 of the November release countdown. Make sure to head over to the MFT blog for a closer look at the new products and more ideas using them.

See you tomorrow for more countdown fun!
Supplies:

October 29, 2019

Hits & Highlights | October 2019


Hello and welcome back! Today I have a card to share for this month's MFT Hits & Highlights feature. This month we're combining new holiday product with older holiday product to create some fun new looks!

For my card today I used the Snowflake Window Die-namics with the new Bitty Holiday Wishes to create a clean & simple card design.

I die cut the snowflake pattern in the center of a white panel using just the inside of the die so it would create the pattern but not actually die cut the rectangle out.  I then layered the panel onto a piece of Silver Sparkle card stock with foam adhesive and then added it to a Sour Apple card base.

I stamped out the single sentiment onto two separate Skinny Strips and stacked them on the card design to complete the sentiment. To finish the card I added some sparkly green enamel dots to some of the snowflake centers to coordinate with the card base.

Thanks so much for stopping by today - see you later this week for the November release countdown!

Supplies:

October 23, 2019

MFT Sketch Challenge 460


It's time for a new sketch challenge on the My Favorite Things blog, and I have a festive card design to share. I love the simplicity of this week's sketch and decided to keep my card very clean and simple.

I stamped my favourite dog image from the Happy Pawlidays stamp set onto a piece on Neenah Solar White card stock with Extreme Black, and then I coloured him in with Copic Markers. I coloured him with warm greys and used red, green, and aqua for the Christmas lights, his Santa hat, and his collar.

I stamped the sentiment from the Bitty Holiday Wishes stamp set onto a white card stock piece, and then I die cut it with the smallest of the Skinny Strips Die-namics and added it to the card with foam adhesive. I finished the card by adding clear glaze over all of the lights and his nose, and I also added Stardust Stickles to his Santa hat.

Thanks so much for stopping by today!

Supplies:

October 22, 2019

Snow Globe Greetings Card Kit Release!


Hello, and welcome back! Today is the official release of the new Snow Globe Greetings Card Kit from My Favorite Things. I love this kit so much and look forward to creating even more holiday cards with it.

For today's card, I decided to just use the Believe die (the Free with $60 that releases with the card kit), and I kept the design pretty simple.

I die cut the word believe with Jellybean Green card stock and layered it over a stamped sentiment strip that I die cut from Milk Chocolate card stock. The sentiment is from the Bitty Holiday Wishes stamp set.

I also stamped a Santa hat from the Tis the Season stamp set, fussy cut it with my scissors, and then I adhered it on top of the B so it would look like it's hanging off the word. I love the message this card sends with just the sentiment and a Santa hat. :)

Thanks so much for joining me for the card kit release!

Supplies:

October 21, 2019

Merry Kissmas | Snow Globe Greetings Card Kit


I'm back today with another card featuring the new Snow Greetings Card Kit from My Favorite Things. I love using Kraft card stock on holiday cards because I love the look of whie against it, making it perfect to highlight snow. :)

For my card today I used the Mistletoe Kisses Die-namics along with the Tall Snowglobe Die-namics to create a shaker snow globe full of wintery snow.

To create the snowy background I first added some white pigment ink to a Kraft card stock panel and then I added the die cut mistletoe on top. I then added a bunch of white dots to the background with a white gel pen to make it look like it was snowing both inside and outside the globe.

I added some Diamond Dust to the inside of the globe and sealed it in to add even more snow because I love all the snow LOL! I stamped the sentiment onto a die-cut base and added it to the card with foam adhesive for some added dimension.

You can see how I created this card from start to finish in today's episode of MFTv.
See you tomorrow for the release party!

Supplies:

October 20, 2019

Happy Holidays | Snow Globe Greetings Card Kit


Hello, and welcome back! Today we are starting the countdown to the newest card kit from My Favorite Things called Snow Globe Greetings.

This kit is so perfect for the holidays and includes a beautiful assortment of products that make holiday card making easy and fun!

For my card today, I created a simple scene with the Mistletoe Kisses Die-namics and a stamped sentiment underneath. I added some white pigment ink to the background and some white pen detail to look like snow, and then I layered the mistletoe, berries, and silver bow on top.

I added the Kraft panel to a green card base and paired it with a coordinating red envelope. This would be a great card design to mass produce for the holidays! :)

See you tomorrow for more countdown fun!

Supplies:

October 18, 2019

MFT + Ellen Hutson Blog Hop!


Hello, and welcome back! Today we have a fun post to share because we've teamed up with some of the amazing designers at Ellen Hutson and created a bunch of cards that use both MFT products as well as Ellen Hutson products.

I used the adorable Sew Cute die from Ellen Hutson and paired them with our products to create 2 stitched designs - 1 on paper and 1 on felt!

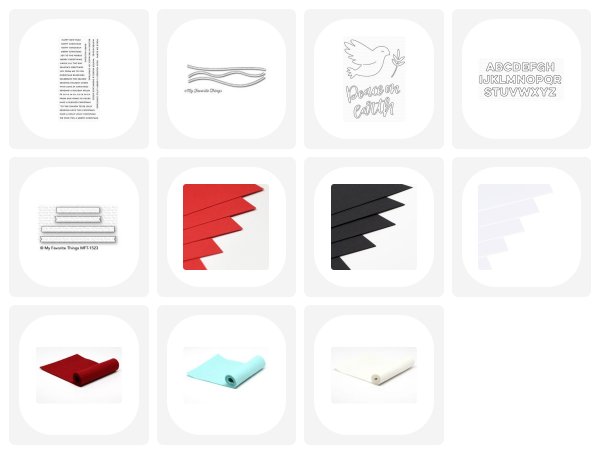
For my ornament, I used MFT felt along with our new Peace on Earth and Captions Alphabet Die-namics to create a beautiful ornament perfect for gift giving. I love how the birds wings seem to fly right off the ornament.  

Once I was finished the ornament, I decided I wanted to also create a stitching project with card stock so I used the Sew Cute Snowman and created a fun stitched design with him on my card.

I used fun colours of DMC floss to sew him up and added dimension by adhering his hat with foam adhesive. I also added a faux stitched snow drift and used a white gel pen to add stitching detail. The sentiment is stamped from our Bitty Holiday Wishes stamp set and stamped onto a Wild CHerry sentiment strip that I die cut with the Skinny Strips Die-namics.

Thanks so much for stopping by today! Make sure to head over to the MFT Stamps blog for a ton of inspiration from designers at MFT and Ellen Hutson!

Supplies: