July 24, 2018

My Favorite Things July Card Kit Release


Hello and welcome to the My Favorite Things July card kit release party! The awesome new Bundle of Balloons card kit is available now at MFT Stamps!

For my card tonight I wanted to create something that focused on the amazing glitter paper in the kit so I decided to use just that and a sentiment and create a rainbow of simple stripes. Sometimes less is more right? ;)

I cut out a strip from each of the glitter card stock colours (all the same size), and then I adhered them all to a white card stock panel. Rather than line them all up on one side, I decided to alternate them as I went down the panel.

I used a sentiment from the stamp set and added the sentiment in a space roughly the size of the strips and then continued the design until I was done. 

Make sure to head over to the MFT blog for more ideas using the Bundle of Balloons card kit! Thanks so much for joining me for the release party! :)

July 23, 2018

MFT July Card Kit Countdown | Day 1


Hello and welcome back to the My Favorite Things July card kit countdown! Today I have a couple of cards to share that both have the same design but one uses the stamps from the kit and one uses the dies. :)

For the stamped card I used a softer colour palette while still keeping a rainbow design. I have really been drawn to softer rainbow colours over bright ones lately, although don't get me wrong - I love the bright ones too! To make sure I didn't stamp the balloon strings on the sentiment, I used a piece of masking paper and covered it up each time I stamped.

For the die cut balloon, I used the brighter card stock colours from the kit and created the exact same design with a different sentiment. I love seeing the difference between the stamping and die cutting and soft colours versus bright.

You can see how I created these cards on the MFT YouTube channel (link in sidebar).

Make sure to head to the MFT blog for more ideas using the kit. See you tomorrow for the kit release! 

July 22, 2018

MFT July Card Kit Countdown | Day 2


Hello and welcome back! Tonight we're kicking off the countdown to the July My Favorite Things card kit called Bundle of Balloons - a kit all about birthday celebrations!

For my card today I used the Bundle of Balloons Die-namics along with the amazing glitter paper in the kit and created a colouful, glittery birthday card.

I die cut a bunch of balloons in all of the colours and then I arranged them on the card in rainbow order. I used a black pen to draw in the strings so they would extend all the way down the card and then I added a sentiment strip on the bottom of the panel with the sentiment stamped on it.

To add even more shine to the balloons, I added Nuvo Crystal Glaze to all of them - I love the dimension and shine the glaze adds.

Make sure to head over to the MFT blog for a closer look at the kit and more cards sharing the new kit products. See you tomorrow for more countdown fun! 

July 18, 2018

MFT Wednesday Sketch Challenge 394


Hello and welcome back! Today I have a card to share for the newest MFT Sketch Challenge. 

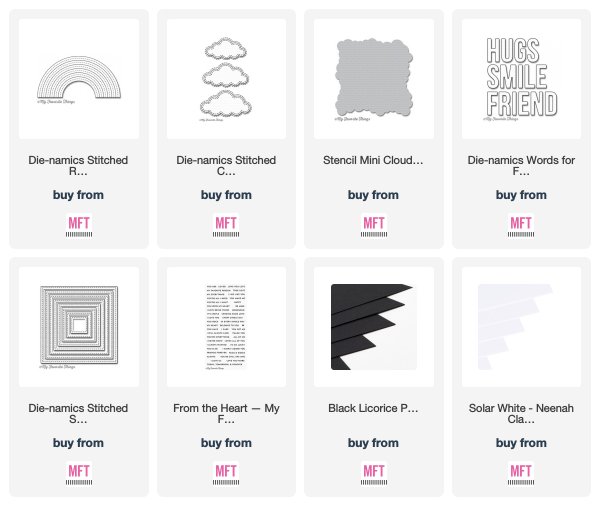
I love the grid design on the sketch and decided to create a sky of inked clouds before trimming it into 4 separate squares. To cut the squares, I used the Stitched Square STAX so I would have a fun stitched design on the outer edge of the squares.

Once I had the clouds in place I created a card stock rainbow using my current favourite rainbow colour combination - Ripe Raspberry, Coral Crush, Banana Split, Sour Apple, Blu Raspberry and Cornflower.  I also wanted to include the rainbow colours in the sentiment so I die cut the word friend using the same colours and then I adhered them to the card front in rainbow order.

I stamped a sentiment from the From the Heart stamp set onto a thin strip of black card stock and I heat embossed it with white embossing powder. I trimmer it down so it would fit under the larger die cut word and then I added the completed panel to a Coral Crush card base. 

I also added sparkle to the letters with my Nuvo glitter pen and then I covered each of the letters with Nuvo Crystal Glaze for added shine and dimension. 

You can see more cards using this week's sketch and enter your own at the Challenge blog here.

Thanks so much for stopping by.

Supplies

July 17, 2018

MFT & Friends | July Release


Hello and welcome back! Today I have a card to share for a new monthly feature on the My Favorite Things blog called MFT & Friends. The design team will be sharing even more cards with the newest release, and we'll be joined by different friends of MFT each month!


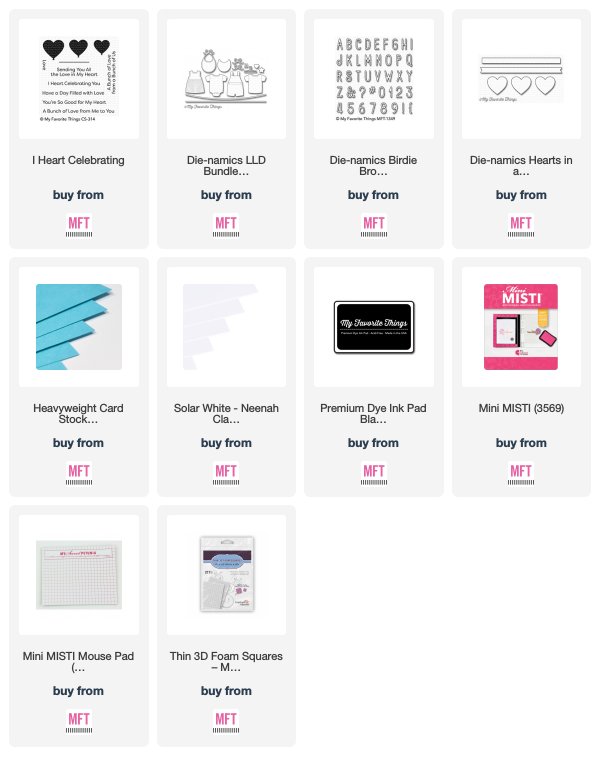
For my card today I used a few of the new July release products including the I Heart Celebrating stamp set, Heart Balloons Die-namics (this month's Free with $60), and the Birdie Brown Alphabet & Numbers Die-namics. I love how great the July products work together to create fun card looks.

I stamped the two green balloons first with Sour Apple dye ink and then I die cut the middle balloon from white card stock and coloured it in with Copic markers. I added that one to the card with foam adhesive for some dimension. The bows on the balloons are from the Bundle of Baby Clothes Die-namics - they are the perfect size to add to the balloons.

To create the sentiment, I stamped the first part onto a sentiment strip with black and masked off the word love so it didn't show up when I did the stamping since I wanted to be able to add that word separately. I die cut those letters from white card stock and coloured them in with a red Copic marker to match the little bows on the balloons.

I finished the card with some enamel hearts and then I added the finished panel to a Blu Raspberry card base.

Thanks so much for stopping by today. Make sure to head over to the MFT blog to see what the rest of the team and this month's friends created! :)

Supplies:

July 13, 2018

MFT July Release | Techniques & Tutorials


Hello and welcome back! Today I have a card to share for a new monthly feature on the My Favorite Things blog called Techniques & Tutorials. The design team will be sharing cards with detailed instructions and step-by-step photos using products from the newest release.


For my project, I'm sharing the bookmark I shared yesterday but today I'm showing you how I created the bookmark tassel that I added to it.

I filmed a video of the process that just went live on the MFT YouTube channel (link in sidebar) but I'm also including still shots from the video below in case you prefer photos over videos. :)


To create the tassel I started with a square piece of card stock that measures 5" on both sides. I folded it in half so it measures 2.5" x 5" when folded.


I picked out the twine I wanted to use and started to wrap it around the card stock piece. You want to start the string at the top and wind around continuously until you have the amount of twine you want. The more twine you add, the thicker the tassel will be. When you're wrapping it, you want the folded side if the card stock at the bottom and the open side at the top.


Once you have all the twine added, trim it off at the top and cut a second piece of twine about 18" long. Fold the piece of twine in half so you have a loop at one end and then slide it under the twine you have wrapped on the card stock. Once you've pulled it under, slide the down to the bottom of the card stock piece.


Tie the twine into a tight knot at the bottom of the card stock around the wrapped twine and double or triple knot it to make sure it doesn't come undone. I like to use tweezers for this part to help the twine while I'm tying it.


Once you have it tightly tied, use a sharp pair of scissors and cut the twine along the open edge at the top of the card stock. This will form your tassel.


Once you've cut through the twine, remove it from the card stock and lay it flat. Pull the looped end up to the top (this is the part that will attach to the bookmark) and pull the other loose edge down so it mixes in with the tassel. Use your fingers to pull all the pieces down together so all of the tassel strings are laying straight.


Using another piece of twine, wrap it around the top of the tassel to create the head. This will give the top a finished look and help secure all of the tassel strings. Once you have it in place, pull down on the strings to make sure there aren't any loose pieces sticking out at the top. Once you tie the initial knot, wrap the twine around a few times before tying it foo completely. 


Pull the extra pieces from the head knot down into the bookmark so they blend in with the rest of the tassels.


Using your scissors, trim off the bottom of the tassel to give it a nice finished look and make all the tassel strings one length.


Slide the loop end into the front of the bookmark and pull the tassel through the loop to secure it to the bookmark.


And that's it! Now you have a handmade tassel for your bookmark. :)


July 12, 2018

MFT July Release | Tips & Tricks


Hello and welcome back! Today I have a project to share for a new monthly feature on the My Favorite Things blog called Tips & Tricks. The design team will be sharing cards, and projects that feature a fun idea for ways to use the newest release products.


My project as actually going to be shared today and tomorrow since there are a couple of things on it that I wanted to share. I used the new Cross-Stitch bookmark die and created a stitched bookmark with a handmade tassel. Today I wanted to show you a trick for something I do before I start my stitching and tomorrow I'll be sharing how I created the tassel.


Whenever I'm stitching something other than a basic pattern (so something that forms a picture, word, etc...) I match my Copic markers to the thread colour I'm going to use and I colour the design onto the panel before I begin stitching. You can see in the photo above that I have fully stitched the letter I and have partially stitched the heart - I first coloured the I with blue and then stitched over top and now I'm doing the same with the pink. 


Adding the colouring first is great for two reasons... the pattern is already on the tag so I know exactly where to stitch and because I'm stitching on white card stock, you don't see any of the white showing through under each stitch because I've added that colour first. :)

Stay tuned to tomorrow's post - I'll be sharing the completion of the bookmark and how to create a tassel... I'll have step by step photos as well as a video. :)
Thanks so much for stopping by today! :)

Supplies

July 10, 2018

My Favorite Things July Release | New Product Launch


Hello and welcome to the My Favorite Things July Release New Product Launch! All of the new July products we've been sharing all week are now available in the MFT online store!

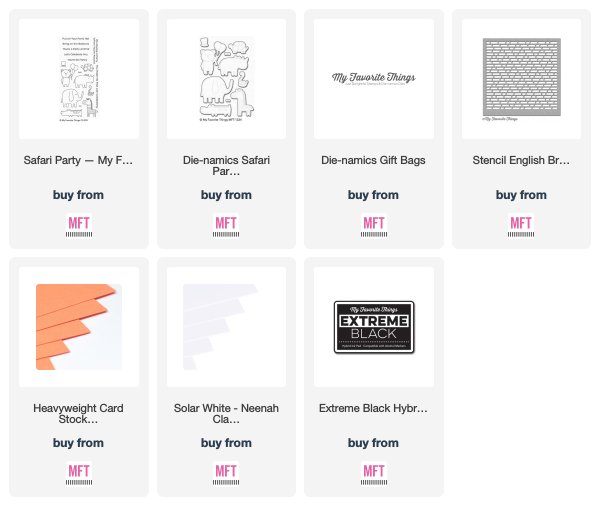
For my card tonight I used the adorable giraffe from the Safari Friends stamp set and combined it with some of the new Gift Bags to create a fun birthday-themed card. As soon as I saw the giraffe, I thought he would be cute holding the long gift bag in his mouth.


I added brick detail to the background with the English Brick Stencil and Pumice Stone Distress ink and then I added the giraffe and gift bags on top. To make it look like the bag was actually in the giraffe's mouth, I cut along his mouth line with scissors and then tucked the handle of the bag into the opening.


Make sure to head to MFT Stamps to shop for the new release. I can't wait to see what everyone creates with this month's release!

Supplies

July 09, 2018

My Favorite Things July Release Countdown | Day 1


Hello and welcome to day 1 of the My Favorite Things July Release Countdown. For the next five days, we'll be sharing cards and projects featuring all of the new products coming out on July 10th at 9pm EST.
And stay tuned to the MFT blog for the week following each release - we're bringing you even more inspiration and ideas using all of the new products!

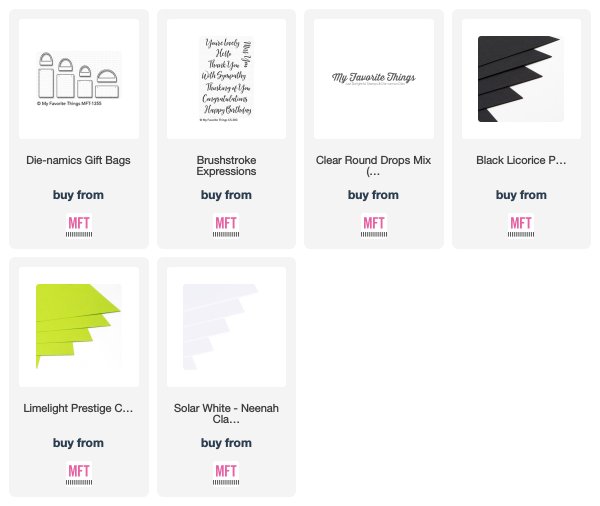
For my card today I used the new Gift Bags Die-namics along with the Brushstroke Expressions stamp set and created a colourful birthday card!


There are 4 different gift bags included in this die set but I decided to use just one and die cut it multiple times and then colour them all with Copic markers. Once I had them coloured I added some white tissue in behind the top of each bag (kind of hard to see in the photos) and I added them onto the card front in rainbow order with foam adhesive.

I wanted to add droplets in the same colours as the bags so I cheated a little and coloured little dots with my copics and then I adhered clear droplets over top - quick and easy custom droplets!


Thanks so much for joining me for Day 1 of the June release countdown. Make sure to head over to the MFT blog for a closer look at the new products and more ideas using them.
See you tomorrow for more countdown fun!

Supplies

July 08, 2018

My Favorite Things July Release Countdown | Day 2


Hello and welcome to day 2 of the My Favorite Things July Release Countdown. For the next five days, we'll be sharing cards and projects featuring all of the new products coming out on July 10th at 9pm EST.
And stay tuned to the MFT blog for the week following each release - we're bringing you even more inspiration and ideas using all of the new products!

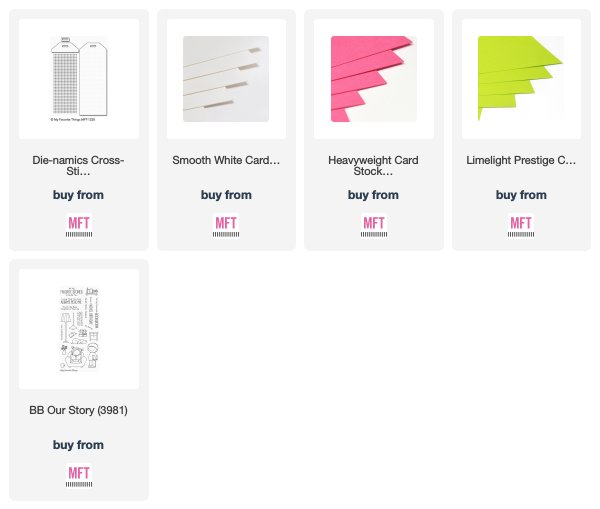
My first project features my favorite product from the new release - the Cross-Stitch Bookmark Die-namics! I have been having so much fun creating bookmarks with this die and have so many ideas for more. I love that it combines my love for reading with crafting!

I stitched a bookshelf pattern onto the bookmark with fun rainbow colours and then I backed it with a piece of Limelight card stock. For this one, I added a tassel that I purchased but stay tuned for later in the week and I'll show you how to make one!

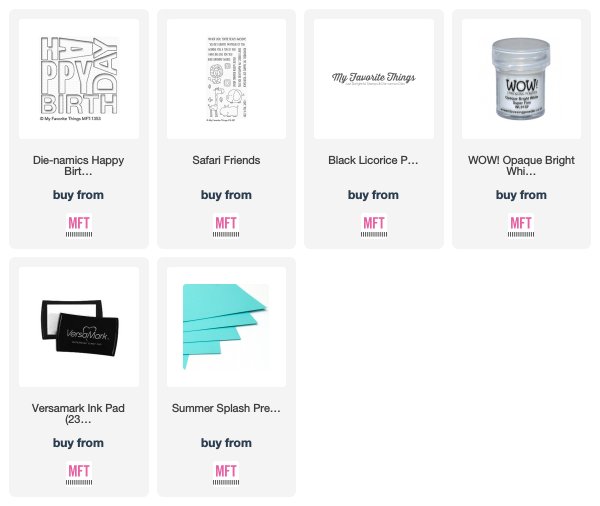
For my card today I used the new Happy Birthday Block Die-namics to create a bold rainbow birthday greeting. I love this large die and how quick and easy it is to create cards with it.

To create the rainbow I added Distress inks to a white card stock panel in rainbow order and then I die cut it with the die. I also cut it from a white square of card stock as well and then I added all of the coloured letters into the openings on the white panel. I love that everything stays one later.

I added a secondary sentiment from the Safari Friends stamp set onto a black sentiment strip and heat embossed it with white embossing powder. I completed the card by adding the panel to a Summer Splash card base.

Thanks so much for joining me for Day 2 of the June release countdown. Make sure to head over to the MFT blog for a closer look at the new products and more ideas using them.

See you tomorrow for more countdown fun!

Supplies

July 07, 2018

My Favorite Things July Release Countdown | Day 3


Hello and welcome to day 3 of the My Favorite Things July Release Countdown. For the next five days, we'll be sharing cards and projects featuring all of the new products coming out on July 10th at 9pm EST.
And stay tuned to the MFT blog for the week following each release - we're bringing you even more inspiration and ideas using all of the new products!

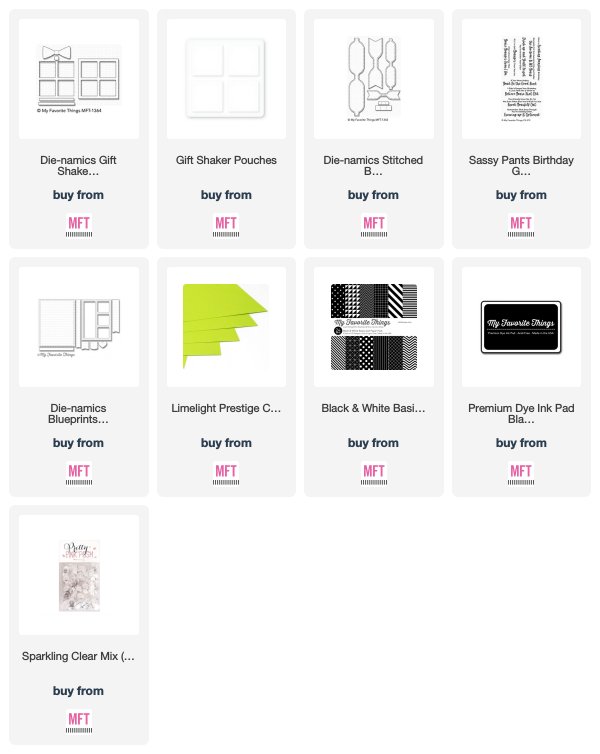
For my card today I used the new Gift Shaker Window & Frame Die-namics to create a shaker present.  I backed the present with black & white polka dot paper and then I added a frame die cut from Razzle Berry card stock. I didn't want to distract from the black and pink so I used clear sequins as the filler for the shaker.

I decided to use the new Stitched Beautiful Bows Die-namics for the topper rather than the bow that comes with the Gift Shaker die, but I did use the center of that bow to dress it up with a little bit of green. 

I completed the card with a stamped sentiment from the new Sassy Pants Birthday Greetings stamp set and added the finished panel to a Limelight card base.


Thanks so much for joining me for Day 3 of the June release countdown. Make sure to head over to the MFT blog for a closer look at the new products and more ideas using them.

See you tomorrow for more countdown fun!

Supplies
 

July 06, 2018

My Favorite Things July Release Countdown | Day 4


Hello and welcome to day 4 of the My Favorite Things July Release Countdown. For the next five days, we'll be sharing cards and projects featuring all of the new products coming out on July 10th at 9pm EST.
And stay tuned to the MFT blog for the week following each release - we're bringing you even more inspiration and ideas using all of the new products!

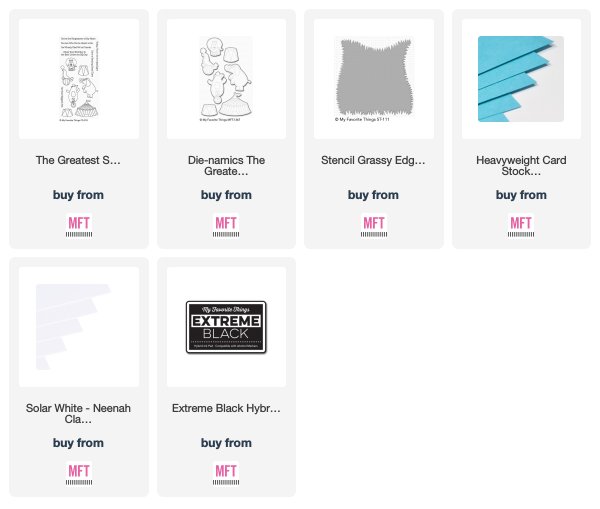
For my card today I used the awesome new The Greatest Show stamp set - I am a HUGE fan of The Greatest Showman so I'm pretty in love with this stamp set LOL! I created a simple scene for my card featuring the circus tent and fun lion coloured with aquas instead of the normal yellows.

To create the background, I used the new Grassy Edges stencil and added some Mowed Lawn distress ink under the tent and lion. I stamped the sentiment on the bottom in black ink and adhered the finished panel to a Blu Raspberry card base.

Thanks so much for joining me for Day 4 of the July release countdown. Make sure to head over to the MFT blog for a closer look at the new products and more ideas using them.

See you tomorrow for more countdown fun!

Supplies