December 28, 2017

My Favorite Things Color Challenge 84

Hello and welcome back! Today I have a card to share with the newest MFT color challenge. As soon as I saw this week's colours, I knew I wanted to use the blues and create something with water.

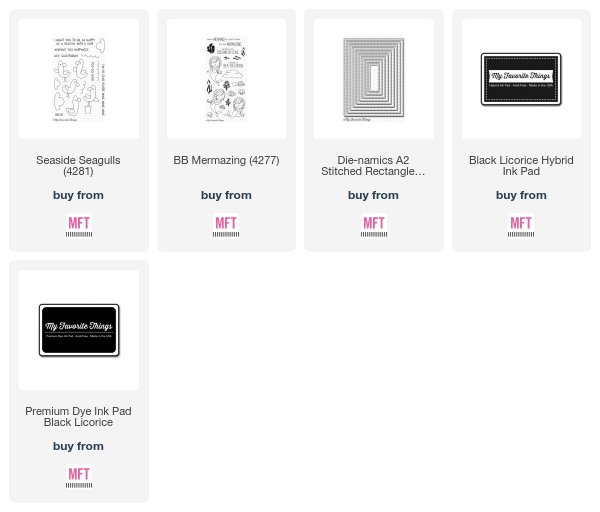
I decided to use the Seaside Seagulls stamp set (one of my favourites!) and create a scene with some stamping and my Copic markers.

I stamped the seagulls and the rock under the seagull in the water (from the Mermazing stamp set) onto my card stock panel and didn't ink the bottom portion of the images so it would look like they were in the water. Once I had the images stamped, I coloured the rest of my scene with Copic markers.


I drew the rock in the front by hand and added in some sand at the bottom of the scene. I used the remaining yellow and orange from this week's challenge and coloured in the seagull's beaks with a mix of the two.

I completed the card by stamping the sentiment in the sky area with black ink.

You can check out this week's color challenge and see more ideas from the design team here.
Thanks for stopping by!

Supplies

December 19, 2017

My Favorite Things Furever Friends Card Kit Release

Hello and welcome back! We've been sharing cards created with the newest card kit over the last couple of days, and the new Furever Friends card kit is now available for purchase at My Favorite Things! 

This month's kit includes a stamp set, a coordinating Die-namics die set, 10 sheets of card stock and an ink cube of our newest ink, Extreme Black which is Copic friendly and stamps amazing!

For my card tonight I wanted to use the image of the cat and the dog together in the pet bed - it's so cute and proves that cats and dogs can be friends. :)


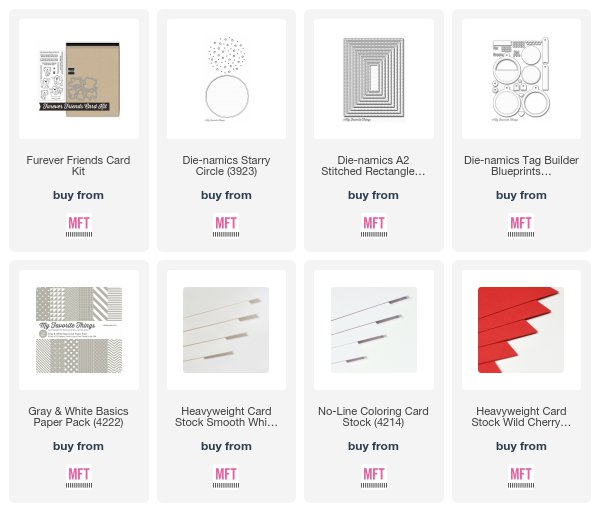
I created a background for my image with the Starry Circle die and adhered the image on top once I had it coloured. I then added some patterned paper strips and the sentiment below the image, layering them all together.


I die cut some hearts from Wild Cherry card stock and scattered those around the card front for a pop of colour and to show the love between the cat and the dog. :)

You can see more samples created by the design team on the MFT blog here and shop for the newest kit on the site HERE.

Thanks so much for stopping by tonight! :)

Supplies:

My Favorite Things December Card Kit | Day 1

Hello and welcome to day 1 of the December card kit countdown from My Favorite Things. The new Furever Friends card kit has a great stamp set for both cat and dog lovers and even though I'm more of a team dog kind of person, I couldn't resist using the adorable cat image.


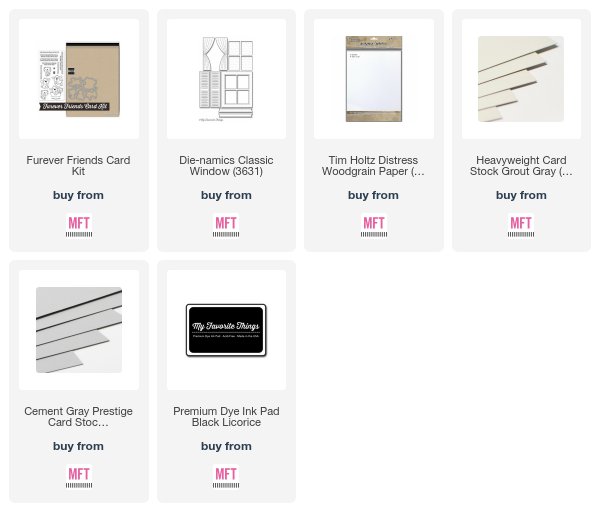
I decided to create a little window scene using the Classic Window Die-namics and the Pet Perches Die-namics, which is the new Free with $60 when the kit releases tonight. I thought the sentiment would work great with the cute cat peeking outside of the house through the window. ;)


I kept the rest of the card pretty plain so the focus would be on the window image but I did use the Tim Holtz Woodgrain paper to diecut the window to give it a bit of texture and dimension.

Make sure to head over to the MFT blog for more ideas using this month's kit and a chance to win a gift certificate from MFT! See you tonight for the kit release!

Supplies:

December 18, 2017

My Favorite Things December Card Kit - Furever Friends

Hello and welcome back! Today is the first day of the countdown to the My Favorite Things December card kit - Furever Friends.

This kit is awesome for anyone who loves cats and dogs because it has both! For my post today I'm sharing a card I created for today's episode of MFTv featuring one of the adorable cat and dog images from the stamp set.


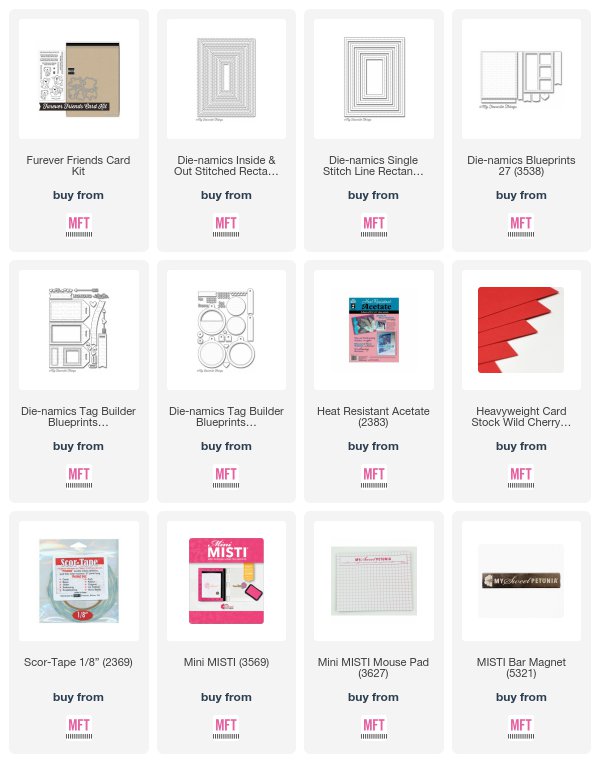
I have wanted to create a magic color slider card for awhile now and thought this stamp set would be perfect. I wanted the cat to be the focus on the front and then have that same cat and a dog image on the inside when the slider piece goes up.


I added red hearts to both the inside and outside of the acetate piece, and I love how you can see them all together when the slider is open. I just think this is such a fun technique on a card when you go from the black and white image to the coloured one.


You can see how I created this card in today's episode of MFTv on the My Favorite Things YouTube channel.  Thanks so much for stopping by today - see you tomorrow for more countdown fun!

Supplies

December 13, 2017

My Favorite Things Wednesday Sketch Challenge 363

Hello and welcome back! Today I have a card to share for this week's MFT sketch challenge. I loved the simplicity of the sketch this week and decided to step away from the holiday crafting and create a non-holiday card.


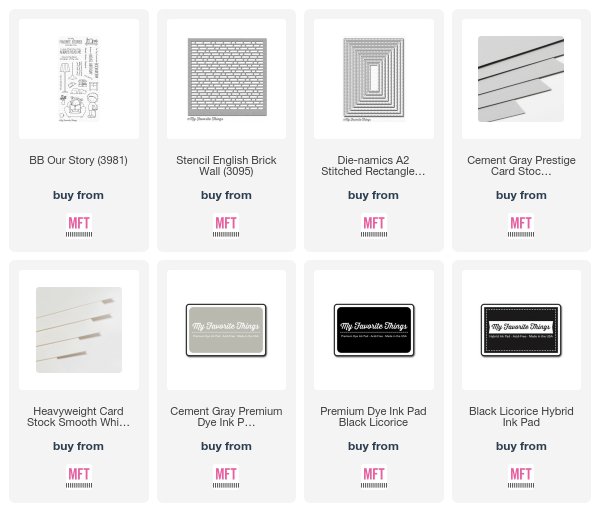
I used the English Brick Stencil to create my background with Cement Gray ink and kept it focused on the bottom area of the card to keep the design similar to the sketch. Once I had the background design added, I ran the panel through my die cutting machine with the largest rectangle from the A2 Stitched Rectangle STAX Set 1 dies. 

I stamped and coloured the image from the Our Story stamp set, and then I cut it out with my scissors along the stamped line.


I stamped the sentiment onto a white paper strip with black ink and tucked it behind the image before adhering them both to the card. I completed it by adding a few gems to the card front.

You can see the full sketch and add your card to this week's challenge at the MFT Challenge blog. 

Thanks so much for stopping by!

Supplies 

December 12, 2017

My Favorite Things December Release Replay

Hello and welcome to the My Favorite Things Release Replay for the December release. The team is back today with more projects using the newest products, and I have two cards to share - same design with the colours changed up a bit. :)


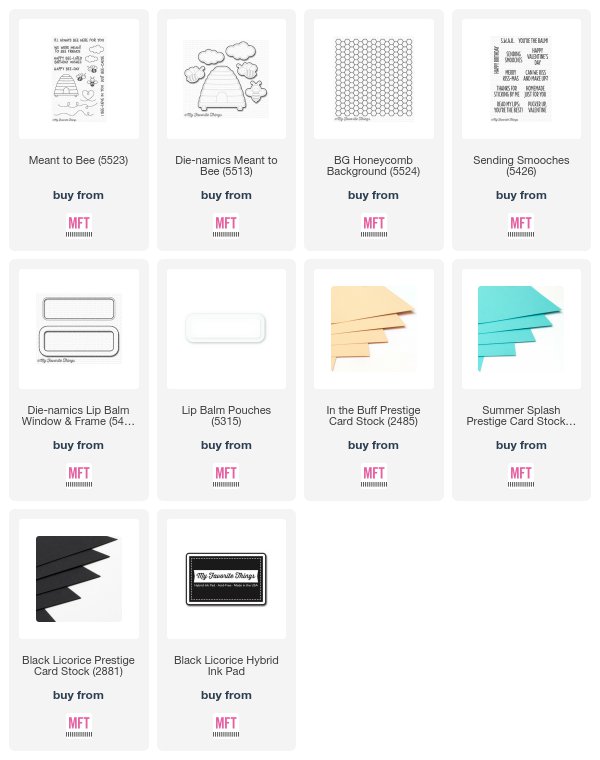
I found these bee themed lip balms a while ago and had them put away to make a lip balm project. I had actually intended to cover up or remove the label on these until I saw all of the great products in the December release - I knew I had to create some bee-themed gifts using the new products and the lip balms, just as is! 

I heat embossed the Honeycomb background onto my watercolor paper first, and then I added colour to some on the hexagons with my Zig Clean Color Real Brush markers. I created a card similar to this for the release, but it was a shaker card rather than a lip balm project.


For the aqua lip balm I used a Summer Splash and Black Licorice colour scheme, and for the beige one, I used In The Buff and Black Licorice. I used the same sentiment on both of the cards from the Sending Smooches stamp set - I thought the 'Thanks for Sticking By Me' was a fun play on the bees and honey.

Make sure to head over to the MFT blog to see what the rest of the team created with the December release products. Thanks so much for stopping by!

Supplies

December 11, 2017

Advent Calendar Extravaganza with Taheerah Atchia

Hello and welcome back! I'm excited to be playing along in this years Advent Calendar Extravaganza with Taheerah Atchia.


Advent Calendar Extravaganza is -the- festive event of the season! This ‘hop with a twist’ was dreamed up by Taheerah Atchia and features surprise destinations each day! Joining in the fun with Taheerah are ONE HUNDRED special guests - each serving up some fantastic Christmas inspiration! Just like an Advent Calendar, you’ll never know where you’re going to be visiting next until you ‘open the door’!

And that’s not all! With 25 *amazing* sponsors taking part as guests as well, your crafty wish list is bound to get a boost with a chance to win a prize EVERY SINGLE DAY!!

Join in the fun every day at taheerah-atchia.com to see what special surprises await behind the door!

For my card, I used today's sponsor, Waffle Flower, but I didn't have any holiday stamps made by them so I had to get creative. :)


I used the Riverside stamp set and tuerned the elemennts in this stamp set into a winter scene. I'm sure it's a little chilly in the tent, but I don't think the bunny minds LOL! When I stamped the bunny, I didn't ink the top of his head so I could draw a Santa hat on him and make him a little festive.

I did some masking to create the scene with the tent, bunny, trail and tree stamps and then I coloured the rest of the scene with my Copic markers to give it a night sky. I also used my white gel pen to make it snow.


Since the stamp set didn't have any holiday sentiments, I used a sentiment from a Neat and Tangled stamp set to complete my card.

It’s not a party without a prize - and with prizes every day there are several chances to win! Today’s prize is generously supplied by Waffle Flower so you’ll definitely want to win! Simply leave a comment on this post - then head back to taheerah-atchia.com and leave a comment there too! You must leave a comment on Taheerah’s blog as well as mine in order to be eligible to win! Don’t forget to grab the other surprise destinations from Taheerah’s blog and head over to them to leave comments there as well to improve your odds even more! You have until 23:59 EST on 31st December 2017 to enter.

Don’t forget Advent Calendar Extravaganza runs from 1st-25th December inclusive so make sure you visit taheerah-atchia.com every day for fabulous inspiration and amazing prizes every single time! Merry Christmas!

December 05, 2017

My Favorite Things December New Product Launch!

Hello and welcome to the new product launch for the My Favorite Things December Release Countdown. All week long we've been sharing cards using all of the new products, and everything is now available in the MFT online store! 

And that's not all.... from now through December 8th, you can save 17% on your entire order site wide! Just enter SAVE17 when you checkout to apply the savings. :)

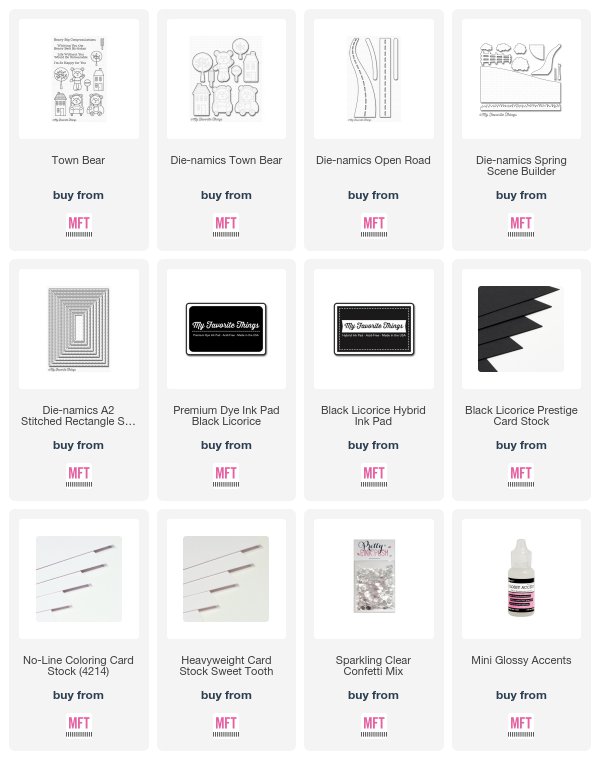
For my card tonight, I used the Town bear stamp set and Open Road Die-namics to create a cute little summer scene. It's currently hailing and snowing here (which I love), but it was fun to create with bright springy colours.


I added Twisted Citron Distress ink to the white background panel, and then I created my scene. I die cut the road from black card stock and wanted white lines and a white curb along the edges, so I adhered the road to a white piece of card stock, and then I just cut along the road edge leaving a bit of a border.


I stamped, coloured and die cut all of the images from the Town Bear stamp set and adhered them on to the scene. I love that you can have the bear driving down the road - so cute! To create the grass, I die cut green card stock with the grass from the Spring Builder dies and then I just cut it apart to use it in all three places.

I added clear confetti to the car for headlights and added Glossy Accents to the bear's nose.

Thank you so much for joining us all week for the December release countdown. Make sure to head over to the MFT blog for giveaways and a lot more inspiration using the new products! I can't wait to see what's on your must-have list!

Thanks for stopping by!

Supplies

December 04, 2017

My Favorite Things December Release Countdown | Day 2

Hello and welcome to day 2 of the My Favorite Things December Release Countdown. For the next five days, we'll be sharing cards and projects featuring all of the new products coming out on December 5th at 9pm EST.

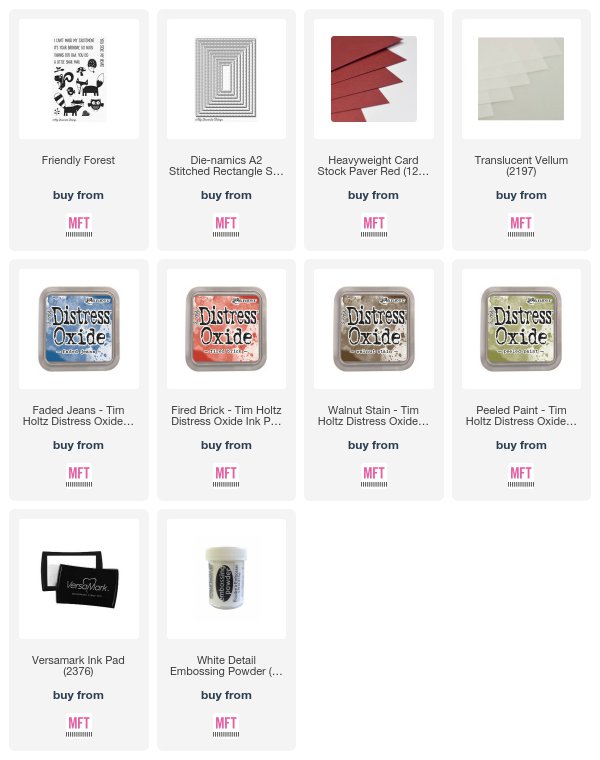
For today's card, I used the new Friendly Forest stamp set and create an entire background using the critters from the stamp set.


I stamped them all on Kraft card stock using various colours of Distress Oxide inks, and once I had the whole panel filled, I used some dot stamps from flower sets and filled in the open areas with stamped dots.


I stamped the sentiment onto Paver Red card stock, and heat embossed it with white embossing powder and then matted it with vellum before adding it to the card. I die cut the panel with the largest die from A2 Stitched Rectangle Stax Set 1 and added the panel to a Paver Red card base.

Thanks so much for joining me for Day 2 of the December release countdown. Make sure to head over to the MFT blog for a closer look at the new products and more ideas using them. See you tomorrow for more countdown fun!!

Supplies
December 03, 2017

My Favorite Things December Release Countdown | Day 3

Hello and welcome to day 3 of the My Favorite Things December Release Countdown. For the next five days, we'll be sharing cards and projects featuring all of the new products coming out on December 5th at 9pm EST.

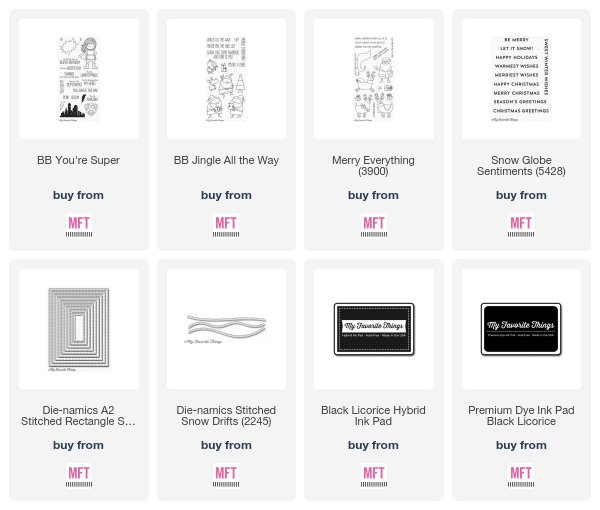
For my card today I decided to use a bunch of the new products to create a fun birthay card featuring bees! :)


I stamped the Honeycomb background onto watercolour paper and then I heat embossed it with white embossing powder. I then added colour to it by using my Zig Clean Color Real Brush markers and adding colour to random hexagons to create a colourful pattern in the background.

I then diecut the hexagon shape from the bottom area of the panel where I had added a lot of colour and created a shaker element with the new Hexagon shaker pouches. 


I added some stamped bees into the shaker from the Meant to Bee stamp set, and I also stamped some additional ones for the main panel. I added a sentiment stamped from the same Meant to Bee stamp set to a black card stock strip and added it to the card front.

Thanks so much for joining me for Day 3 of the December release countdown. Make sure to head over to the MFT blog for a closer look at the new products and more ideas using them. See you tomorrow for more countdown fun!!

Supplies

December 02, 2017

My Favorite Things December Release Countdown | Day 4

Hello and welcome to day 4 of the My Favorite Things December Release Countdown. For the next five days, we'll be sharing cards and projects featuring all of the new products coming out on December 5th at 9pm EST.

For today's card, I decided to get creative with the new You're Super stamp set (which is a re-release of the original set but with updated sentiments and fonts) and create a holiday card. I love experimenting with my stamp sets to try and get a completely different look, and I was pretty happy with the end result on this card.


I decided to turn Super Girl into Santa Claus with her sidekick Rudolph in the distance. To make her Santa, I trimmed her out with my scissors and cut off her cape. The only part of the cape I couldn't cut off was on her shoulders, but I just coloured that red with rest of her suit and I think it blends in okay.

I then coloured her in similar colours to Santa... I did her main outfit and pants red and kept the trim on the bottom white. I coloured her boots and belt black and drew a buckle on a scrap of white card stock with a black marker, coloured it, cut it out and glued it on top of her belt. 

Now any good Santa needs a hat, so I searched through my stamp sets and found a perfect fit on one of the Santa's from Jingle All the Way. I did have to give her a bit of a haircut to make it fit, but I think it looks pretty good LOL! ;)


I love this deer image from the Merry Everything stamp set and knew I had to have him on the card. His stance and expression is so cute to me, and I think he was just meant to go with this new version of Santa. ;) I coloured him with Copics as well, and then I cut him out and gave him a big red gem for a nose.

I decided to add them to a winter scene that I coloured with my Copics, and I added some snow hills for them to stand in. I wanted him to look back in the distance since his sizing is a bit off for her size, so I put him in a deeper snowbank and brought her really close to the card front in a smaller snow hill. 

Thanks so much for joining me for Day 4 of the December release countdown. Make sure to head over to the MFT blog for a closer look at the new products and more ideas using them. See you tomorrow for more countdown fun!!

Supplies

December 01, 2017

My Favorite Things December Release Countdown | Day 5

Hello and welcome to day 5 of the My Favorite Things December Release Countdown. For the next five days we'll be sharing cards and projects featuring all of the new products coming out on December 5th at 9pm EST.

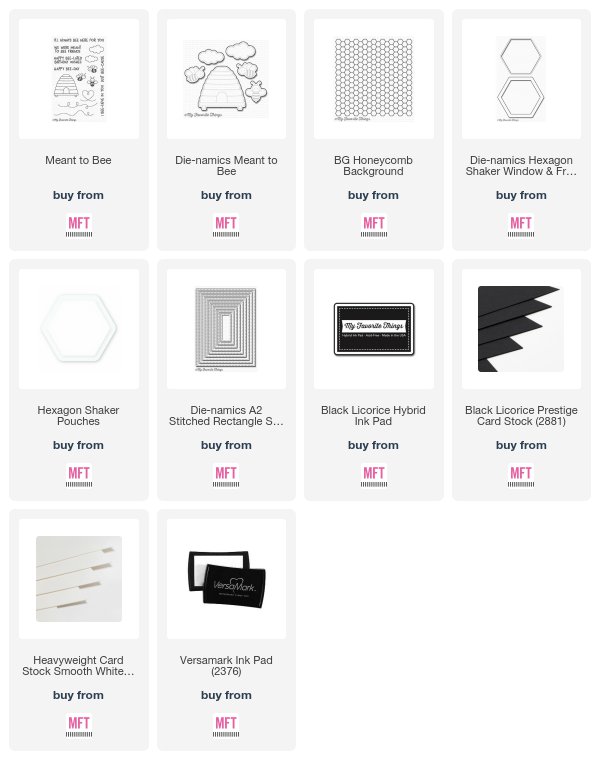
As soon as I saw the new Our Town Die-namics, I knew I wanted to create a snowy winter scene with the houses along the bottom. 

I created the background on watercolour paper by adding Distress inks onto the panel with ink blending tools. I wanted it to get darker as I went up so I started with Cracked Pistachio and then went upwards with Lucky Clover, Peacock Feathers, Faded Jeans, Chipped Sapphire and finally Black Soot.

I added water droplets to the panel to distress the sky and then I used white paint with some water mixed in to add the snow flecks all over the background.


Once the background was completely dry I stamped the sentiment with Versamark ink and then I heat embossed it with white embossing powder. I love how bold and bright it looks against the background. To finish the card I added two rows of the Our Town die along the bottom of the card - one cut from white card stock and one cut from Silver Sparkle card stock. 

I also wanted to share a fun, colourful card I created for this months free release class that will be available for download on release night. I used the same Our Town die to create a rainbow of the houses going up the card base.


I layered all of the houses one on top of another to create the rainbow and then I adhered them all to the card front. I added cloud detail above the houses with the Mini Cloud Edges stencil and stamped a sentiment from the Lots of Hugs stamp set onto a strip of black card stock and heat set it with white embossing powder.


You'll be able to see a video sharing the card creation on release night and download a PDF with the instructions and supplies to recreate this card. 
Thanks so much for joining me for Day 5 of the December release countdown. Make sure to head over to the MFT blog for a closer look at the new products and more ideas using them. See you tomorrow for more countdown fun!!

Supplies