September 25, 2018

My Favorite Things September Card Kit Release


Hello and welcome to the My Favorite Things September card kit release party! The awesome new Filled with Joy card kit is available now at MFT Stamps! I love all of the fun elements in this month's kit and had so much fun creating with it!

For my card today I decided to create an ornament for the 'o' in the joy word but rather than use the actual ornament die, I decided to keep the 'o' in place and turn that into an ornament.

I die cut the word joy from white card stock and then used my Copic markers to colour them in. I created an ombre effect on them by keeping the bottoms darker and lightening them up towards the top and then I adhered them to my white card stock panel.

I added the ornament topper, cut from Silver Sparkle card stock to the top of the 'o' and added the ornament string as well.

To finish the card I stamped the rest of the sentiment onto a piece of black card stock, heat embossed with white embossing powder and then I added it to the panel under the die cut word.

Make sure to head over to the MFT blog for more ideas using the Filled with Joy card kit! Thanks so much for joining me for the release party! :)

September 24, 2018

MFT September Card Kit Countdown | Day 1


Hello and welcome back! Today is the second day of the countdown to the new My Favorite Things September card kit called Filled with Joy. I love holiday products and was so excited to start my holiday cardmaking with this kit! This new kit will be available on September 25th at 10am EDT.

For my cards today I wanted to create a shaker element in the center of the word Joy using the Circle Trio Shaker pouches that are included in the kit. To create a single shaker all you need to do is trim the circle trio apart into separate pieces - so you actually get enough pouches to create 30 shaker elements.

I wanted to create a Christmas Tree shape with my die cuts and stamping, so I turned the 'o' in joy into an ornament and layered the other elements around it. I'm sharing this card in today's MFTv video so head over to our YouTube channel (link in sidebar) if you want to check that out.
 

For my second card, I created a shaker element as well, but I completed changed up the design and stamped the Joy sentiment on the top and bottom of my panel and then added the die cut Joy word to the center.

I used the snowman head to cut a circle opening and added the shaker pouch inside and filled it with a fun winter mix of sequins. I wanted to add an additional sentiment, so I stamped it onto a black card stock strip, and then I adhered over the joy word at the top.

I wanted to keep the card somewhat monochromatic, so I added the finished panel to a Sno Cone card base to match one of my ink colours.

Make sure to head over to the MFT blog for more ideas using this month's kit and join me back here tomorrow for the release party! Thanks for stopping by!


September 23, 2018

MFT September Card Kit Countdown | Day 2


Hello and welcome back! Today is the first day of the countdown to the new My Favorite Things September card kit called Filled with Joy. I love holiday products and was so excited to start my holiday cardmaking with this kit! This new kit will be available on September 25th at 10am EDT.

For my first card, I really wanted to use the snowman included in the Filled with Joy dies as well as the gorgeous black velvet paper.

I first created the blue background by adding some Prima watercolors to a watercolor panel and then I let it dry. While it was drying, I diecut the word joy twice from white card stock and coloured in the j and y with both red and green inks. I then layered them onto the panel when it was dry and offset them to create a fun shadow.

I cut out all of the snowman pieces from white card stock, and I coloured in the accessories with my Copic markers.

Once I had everything coloured, I assembled the snowman and added some foam adhesive under his hat for a bit of dimension. To complete the card, I added some clear sequins with clear Stickles added to the center.

Make sure to head over to the MFT blog for the full kit reveal and join me back here tomorrow for another card using the new Filled with Joy card kit. Thanks for stopping by!

September 11, 2018

MFT & Friends | September Release


Hello and welcome back! Today I have a project to share that I created for the September MFT & Friends post. I love this blog feature because we always have some amazing designers join us for a fresh look at the newest release.


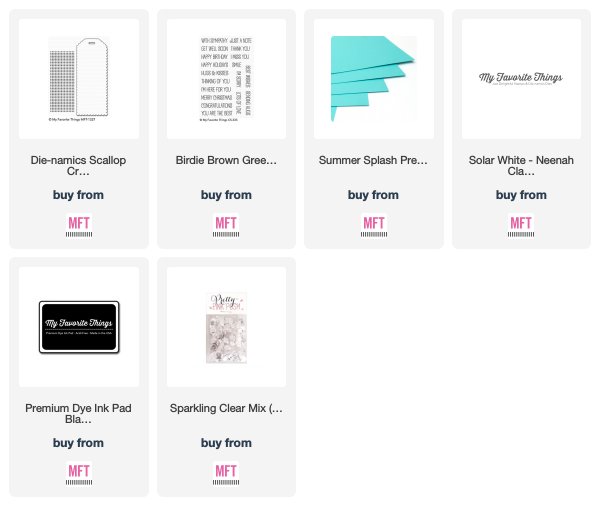
For my project, I decided to use the new Scallop Cross-Stitch Bookmark Die-namics to create a stitched area on my card design. I diecut only the stitching area from a piece of card stock (you can separate the middle from the outside of the bookmark by snipping the little metal tabs), and then I stitched my design on it, using only the portion that would fit across an A2 size card base.

I created a pattern for a dachshund in a winter sweater and stitched it onto the panel. After I had most if it stitched, I realized I wanted to add a Santa hat to him, but I didn't leave enough room, so I just had to go with the sweater. I think it would have been even cuter with the hat so I may still add a stamped on onto her. :)

Once I had the stitching done, I added the stitched panel to a white card base and added a piece of SUmmer Splash card stock to the top and bottom to sandwich the stitching panel. I did stamp the sentiment to the bottom panel using the new Birdie Brown Greetings Galore stamp set, before adding it on. I completed the card with a few clear sequins for a bit of dimension.

Thanks so much for stopping by today. Make sure to head over to the MFT blog for more great ideas using the September release products. :)

Supplies:

September 06, 2018

MFT September Release | Tips & Tricks


Hello and welcome back! Today I have a card to share for the September Tips & Tricks feature on the My Favorite Things blog. The design team will be sharing cards, and projects that feature a fun idea for ways to use the newest release products.

For my card today I used the new Double Slider Loop Slots dies to create a fun gift card surprise design. When you pull on the tab, a panel comes out to reveal the sentiment while a gift card comes out the other side.

I created a video sharing how I created my card from start to finish so you can watch it here if you'd like. If you prefer photo instruction, I have some photos below showing how I assembled the card. 

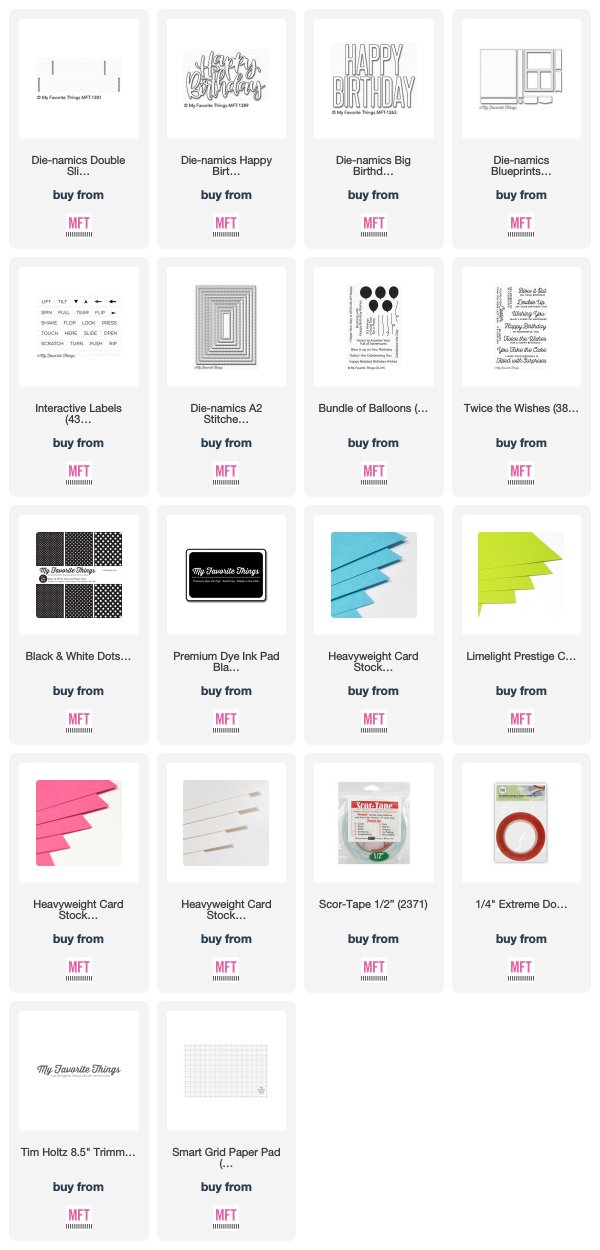
To create a double slider like I did on this card, you actually need to create a panel with the slider loop that can be sandwiched in the middle of the card. To do this, I cut out a white piece of card stock for the top sentiment panel using the 3rd largest die from the A2 Stitched Rectangle STAX Die-namics, and then I cut out a separate piece of card stock cut slightly smaller than that top panel. That is the piece that I die cut the loop slots into.

To create the loop, you need to add a piece of acetate (packaging, etc...) through the loop openings and then secure it at the back with a tiny stapler.

Once you have the loop created, you can flip the panel over, move the staples to the right-hand side, add a piece of Scor Tape over the staples and adhere a gift card onto the adhesive. 

Once you have the gift card adhered, you'll need to add foam adhesive around it to create a channel for the gift card to slide in and to life the panel slightly off the card to allow room for the gift card to move freely.

Once you have the foam adhesive on, you can adhere the loop panel to the center of the card base which will sandwich the gift card between the loop panel and the card base. You'll then want to create the top panel that will pull from the other side and have a sentiment on it. I used the same rectangle die set but used the 5th largest rectangle to create this.

For this panel, you want to add the adhesive to the left side of the loop and then adhere the panel the same way you did the gift card and then add the foam adhesive around the panel. Once you remove the adhesive backing, you can add the sentiment panel on top which will conceal the loop panel underneath. 

You can then pull on the pull tab, and when you do, the sentiment panel will pull out to the right, and the gift card will pop out to the left. The continuous loop that we created allows each piece to move at the same time in different directions.

Hopefully, these instructions made sense LOL! But don't forget you can check out the video to see the creation of the entire card. Thanks so much for stopping by!

Supplies:

September 04, 2018

MFT September Release | New Product Launch


Hello and welcome to the My Favorite Things September Release New Product Launch! All of the new September products we've been sharing all week are now available in the MFT online store!

For my card today I used the new Double Slider Loop Slots Die-namics along with some of the other new stamps and dies to create a fun, interactive card.

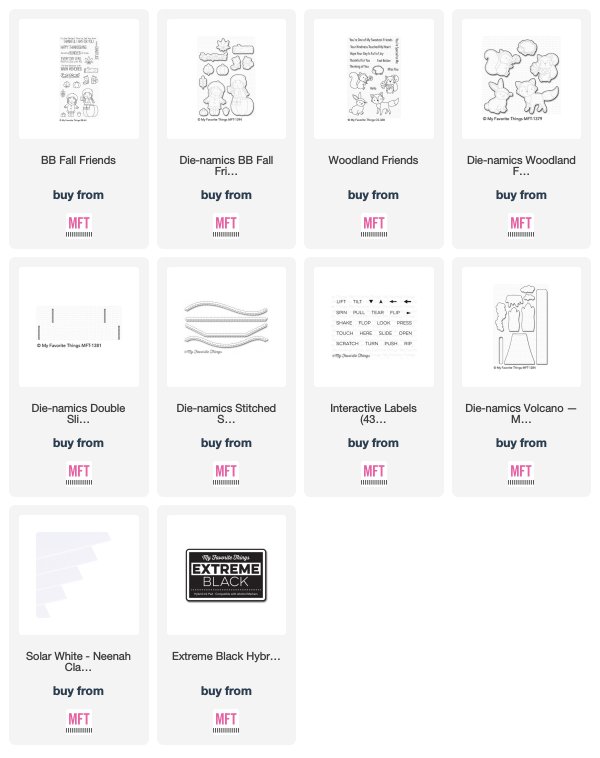
I added the double slider loop slots under the grass area on the design, and then I adhered one of the squirrels from the Woodland Friends stamp set to it with a piece of acetate so I could make him slide over to the girl image with his flower. :)

To create the pull tab, I used the Volcano Die-namics along with the Interactive Labels stamp set and adhered it to my loop to make it move. 

The girl image along with the pumpkin and greenery are from the Fall Friends stamp set, and I thought they all went really well together on the design. 

Make sure to head to MFT Stamps to shop for the new September products. I can't wait to see what everyone creates with this month's release!

Supplies:

September 03, 2018

My Favorite Things September Release Countdown | Day 1


Hello and welcome to day 1 of the My Favorite Things September Release Countdown. For the next five days, we'll be sharing cards and projects featuring all of the new products coming out on September 4th at 10am EDT.

For my card today I created a clean and simple design using the new Happy Birthday Script Die-namics. I love the unique design of this sentiment and really wanted to leave it as the focus on the card.
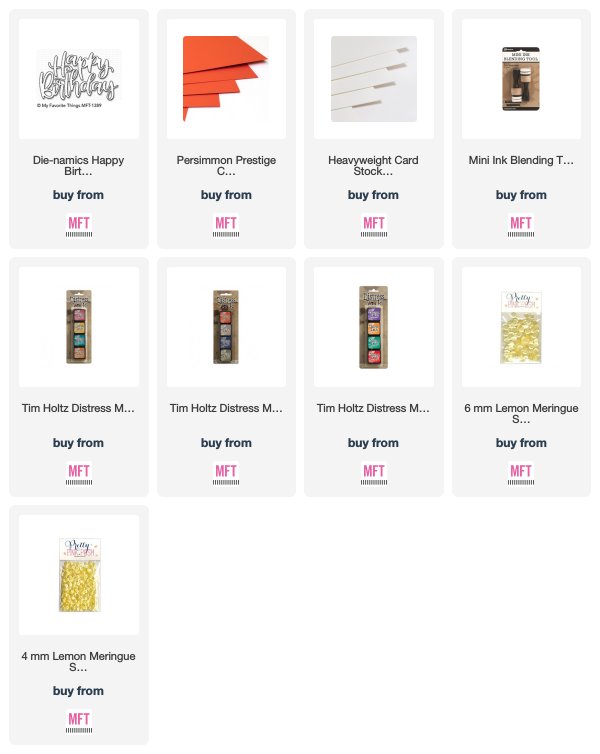
I created the ombre effect on the letters by combining three colours of Distress Ink (Mustard Seed, Carves Pumpkin, and Barn Door) and I blended them all together to get a really nice transition between each colour.
I used the die cut inlay technique to add the sentiment into the white panel background so it was all one layer and then I added it to a Persimmon card base. I completed the design by adding some yellow sequins around the sentient with some Sprinkled Sugar Stickles added to the center.

Thanks so much for joining me for Day 1 of the September release countdown. Make sure to head over to the MFT blog for a closer look at the new products and more ideas using them.

See you tomorrow for the release!
Supplies

September 02, 2018

My Favorite Things September Release Countdown | Day 2


Hello and welcome to day 2 of the My Favorite Things September Release Countdown. For the next five days, we'll be sharing cards and projects featuring all of the new products coming out on September 4th at 10am EDT.

For my project today, I created a stitched bookmark using the new Scallop Cross-Stitch Bookmark as well as the original bookmark die.

I stitched a rainbow pattern onto a bookmark that I diecut from white card stock, and then I added it to a Limelight scallop piece that was diecut with the scallop bookmark. I love being able to use the two together.

Thanks so much for joining me for Day 2 of the September release countdown. Make sure to head over to the MFT blog for a closer look at the new products and more ideas using them.
See you tomorrow for more countdown fun!

September 01, 2018

My Favorite Things September Release Countdown | Day 3


Hello and welcome to day 3 of the My Favorite Things September Release Countdown. For the next five days, we'll be sharing cards and projects featuring all of the new products coming out on September 4th at 10am EDT.

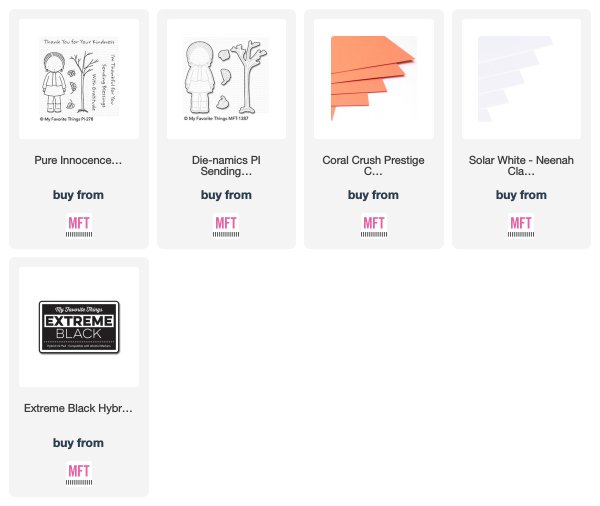
For my card today I used the new Sending Blessings Pure Innocence stamp set to create a fall themed card. I love love love fall and was so excited to bring out the rich fall colours with this month's release. I have a bunch of autumn background scenes that I created, and I knew they would be perfect for this sweet image.

I created the background on my card with Copic markers, and then I added my Pure Innocence girl image standing on a grass hill in front. To make the grass blend in with the fall scene, I added some orange distress ink over the green to really help it blend in.

I decided I didn't want the white border around the image on this card, so I hand cut the girl with my scissors before adding her to my scene.

I finished the card by stamping the sentiment directly on the background with black ink and then I added the entire panel to a Coral Crush card base.

Thanks so much for joining me for Day 3 of the September release countdown. Make sure to head over to the MFT blog for a closer look at the new products and more ideas using them.
See you tomorrow for more countdown fun!

Supplies: