Hello and welcome back! Today I have a card to share for the September Tips & Tricks feature on the My Favorite Things blog. The design team will be sharing cards, and projects that feature a fun idea for ways to use the newest release products.
For my card today I used the new Double Slider Loop Slots dies to create a fun gift card surprise design. When you pull on the tab, a panel comes out to reveal the sentiment while a gift card comes out the other side.

I created a video sharing how I created my card from start to finish so you can watch it here if you'd like. If you prefer photo instruction, I have some photos below showing how I assembled the card.
To create a double slider like I did on this card, you actually need to create a panel with the slider loop that can be sandwiched in the middle of the card. To do this, I cut out a white piece of card stock for the top sentiment panel using the 3rd largest die from the A2 Stitched Rectangle STAX Die-namics, and then I cut out a separate piece of card stock cut slightly smaller than that top panel. That is the piece that I die cut the loop slots into.


Once you have the loop created, you can flip the panel over, move the staples to the right-hand side, add a piece of Scor Tape over the staples and adhere a gift card onto the adhesive.

Once you have the gift card adhered, you'll need to add foam adhesive around it to create a channel for the gift card to slide in and to life the panel slightly off the card to allow room for the gift card to move freely.

Once you have the foam adhesive on, you can adhere the loop panel to the center of the card base which will sandwich the gift card between the loop panel and the card base. You'll then want to create the top panel that will pull from the other side and have a sentiment on it. I used the same rectangle die set but used the 5th largest rectangle to create this.

For this panel, you want to add the adhesive to the left side of the loop and then adhere the panel the same way you did the gift card and then add the foam adhesive around the panel. Once you remove the adhesive backing, you can add the sentiment panel on top which will conceal the loop panel underneath.

You can then pull on the pull tab, and when you do, the sentiment panel will pull out to the right, and the gift card will pop out to the left. The continuous loop that we created allows each piece to move at the same time in different directions.
Hopefully, these instructions made sense LOL! But don't forget you can check out the video to see the creation of the entire card. Thanks so much for stopping by!
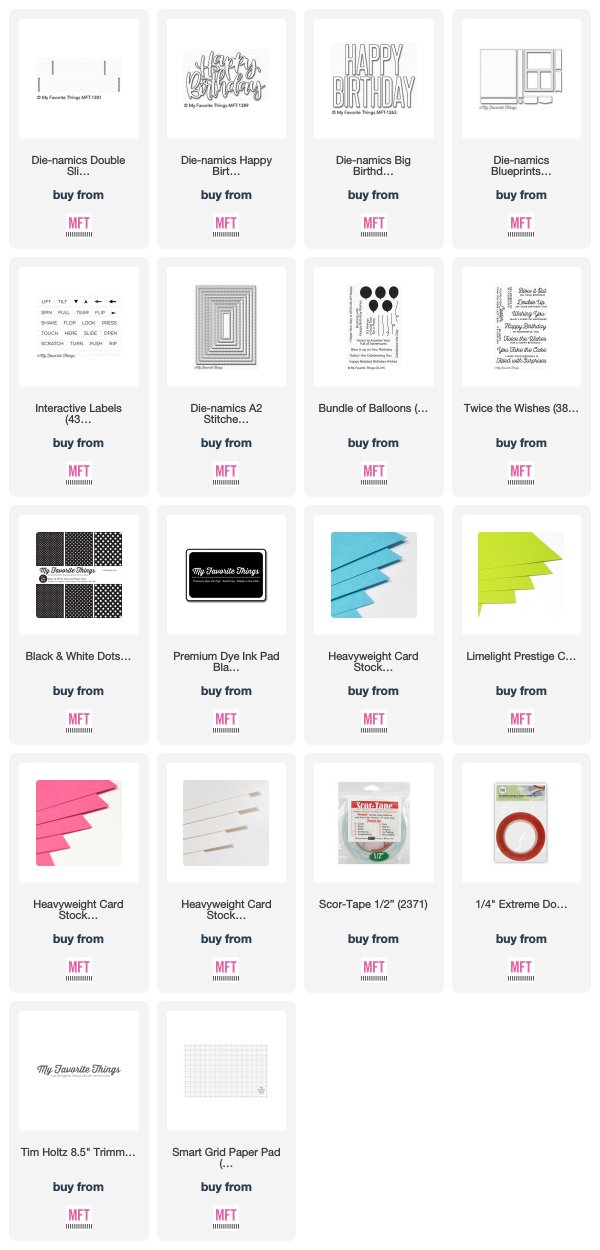
Supplies:


7 comments:
Thanks for the video you have done a while back. I got the "hang" of making a card with this die-namics after viewing it.
How much do I love this? I envision making lots for Christmas gift cards!
Super fun design!!
This is a great card design. Your instructions were very good, easy to follow. Thanks!❤️
There are a lot of beautiful escorts in Pakistan, enough to make tourists finding it hard to leave behind these beautiful packages of endless fun and enjoyment. And if you do not want to commit anything but just want to have a good time, these Pakistani Escorts will easily take you to dreamland. Sex in Pakistan No commitments, no strings attached. Just fun, fun, and more fun!
I LOVE this card idea! Thank you for the great instructions! As Rene said earlier, they are so 'easy to follow'.
SexinLahore
VIP escorts Lahore
VIP call girls in islamabad
independent female escorts in karachi
VIP karachi call girls
VIP escorts karachi
VIP Karachi Escorts
escorts in Pakistan
Pakistani call girls
Post a Comment